In Central, go to Operations → Yard Onboarding. You'll see the list of yards with a progress bar and status for each.
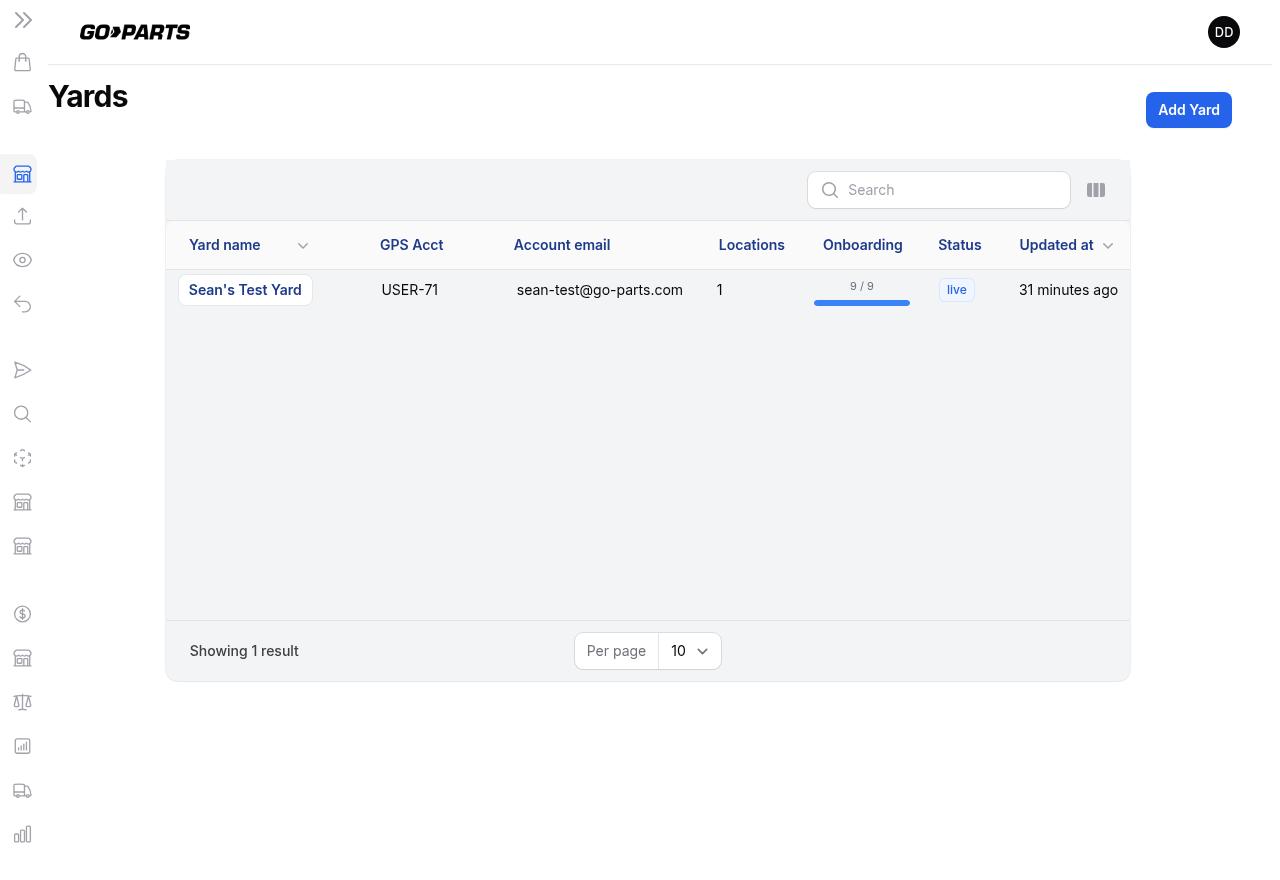
Click Add Yard (top right) to start a new one, or click a yard's name to open it.
Yard Onboarding is a self-service tool to bring a new yard (recycler) onto Go-Parts Ship. You add the yard, the system creates its Go-Parts Ship account and locations, links everything back to Central, and gives you logins to hand off to the yard's staff. A built-in checklist shows exactly where each yard stands so nothing gets missed.
A yard moves through four phases. The page tracks them for you:
1 · Account setup 2 · Locations 3 · Activate in Central 4 · Vendor handoff
| Phase | What you do | Result |
|---|---|---|
| 1 · Account setup | Add the yard, then Create GPS Account | A Go-Parts Ship login + API credential + tracking webhook |
| 2 · Locations | Add location(s), each mapped to a supplier + address | Ship-from locations created in Go-Parts Ship |
| 3 · Activate in Central | Sync to Central | Yard shows in the Create B2C dropdown & ship screens |
| 4 · Vendor handoff | Create Test Orders & Create Yard Accounts | Yard staff can log in and practice shipping |
In Central, go to Operations → Yard Onboarding. You'll see the list of yards with a progress bar and status for each.
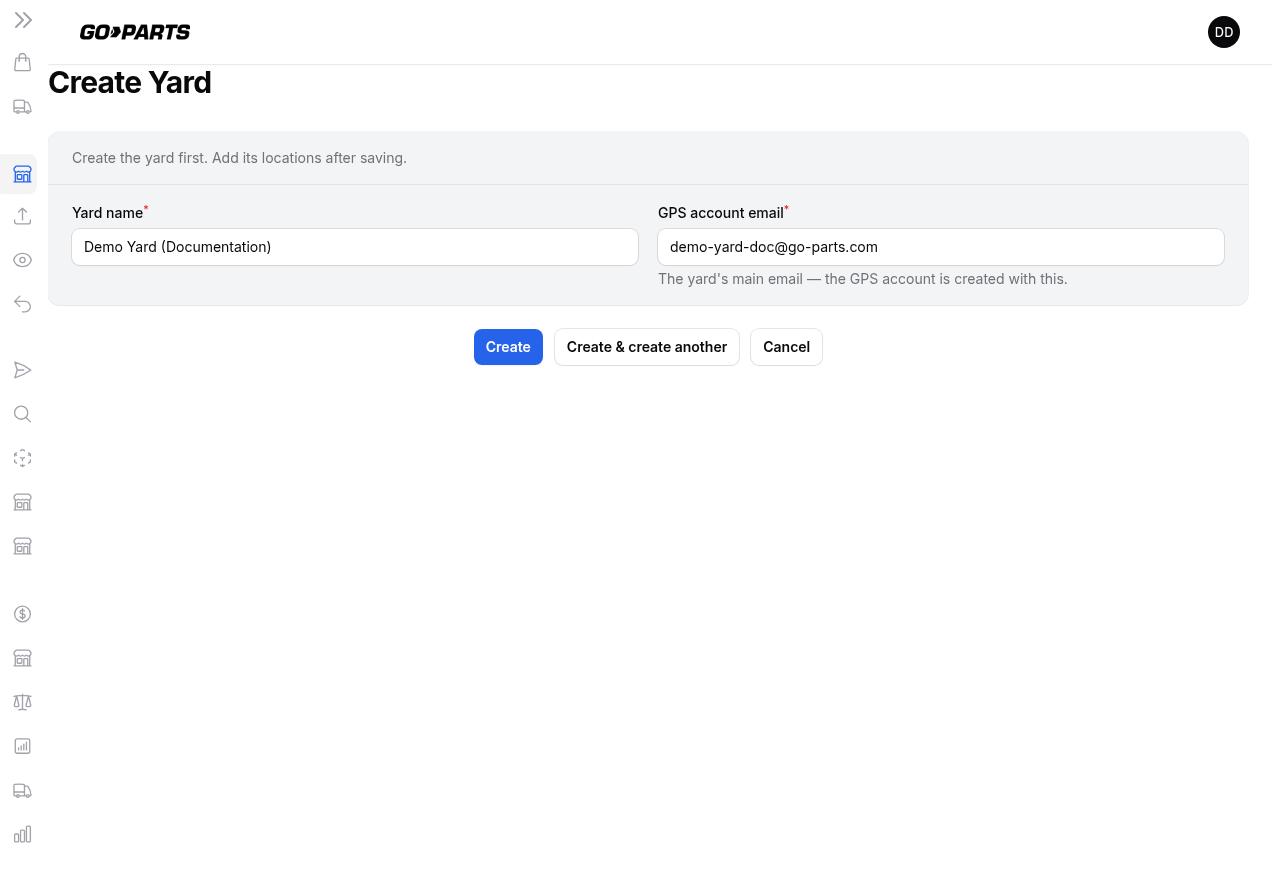
Click Add Yard (top right) to start a new one, or click a yard's name to open it.
Enter just two things: the Yard name and the yard's GPS account email (the main email the yard will use to log in to Go-Parts Ship). Locations come later.
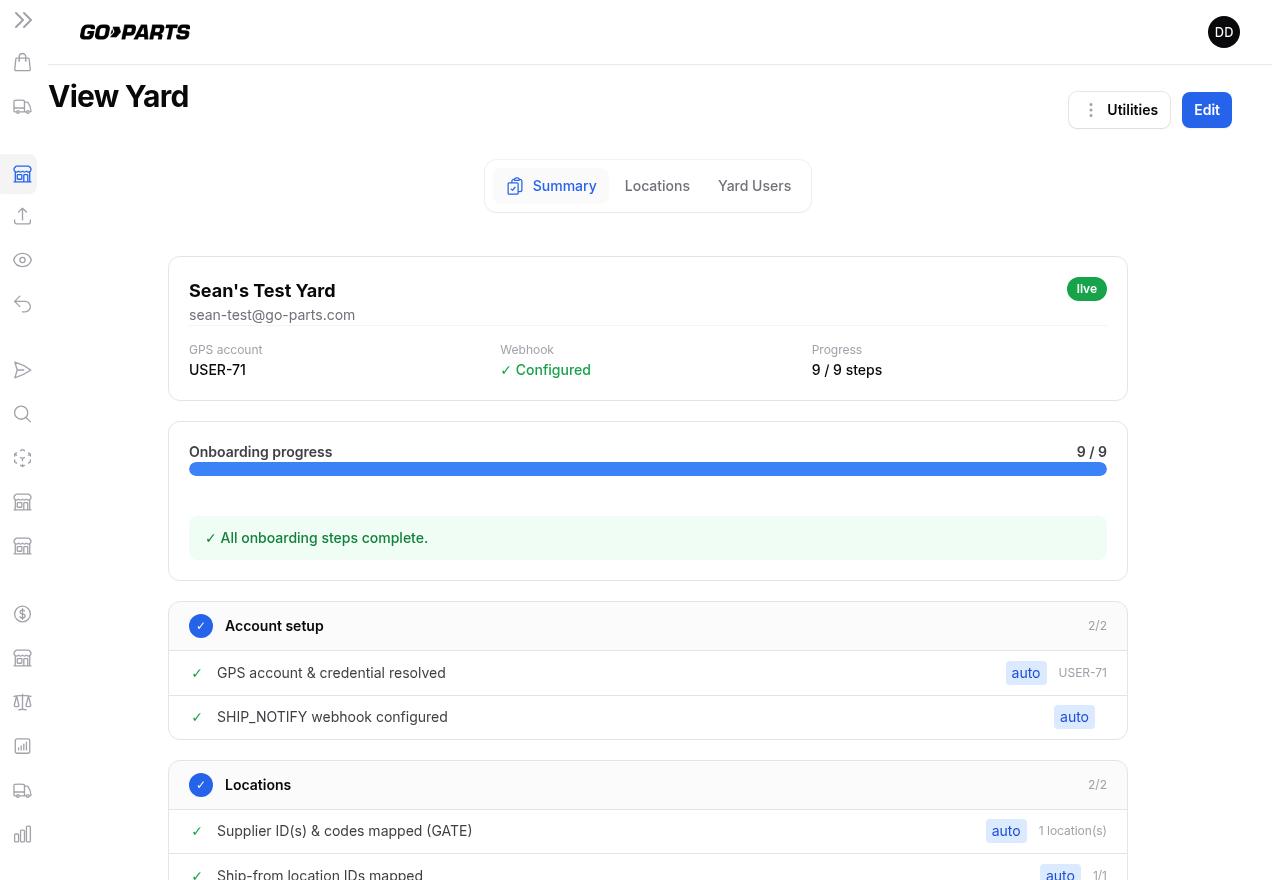
After saving, you land on the yard's Summary tab. This is your command center:
auto are verified by the system; manual items are ones you confirm.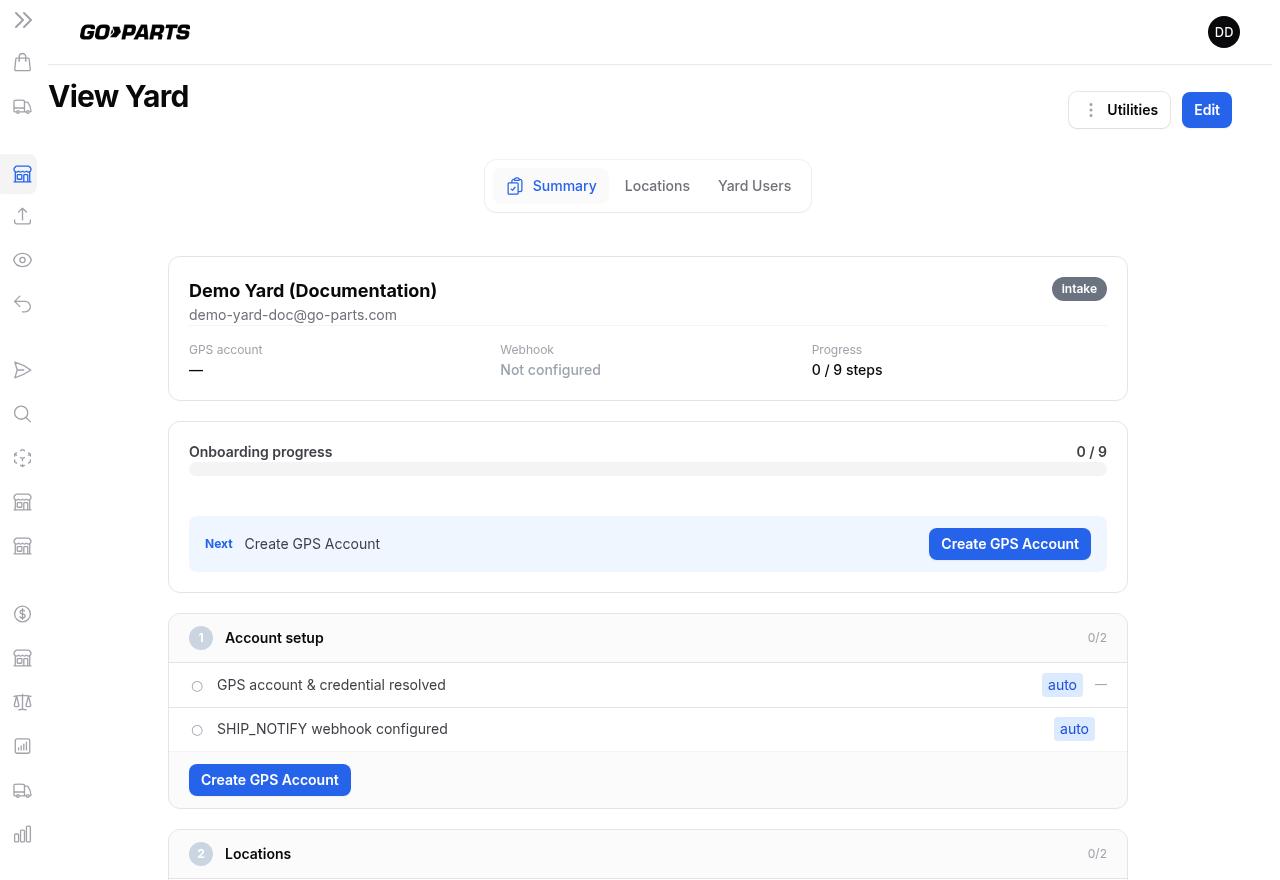
Click Create GPS Account (in the Next banner or the Account setup phase). Confirm in the dialog. The system creates, in Go-Parts Ship:
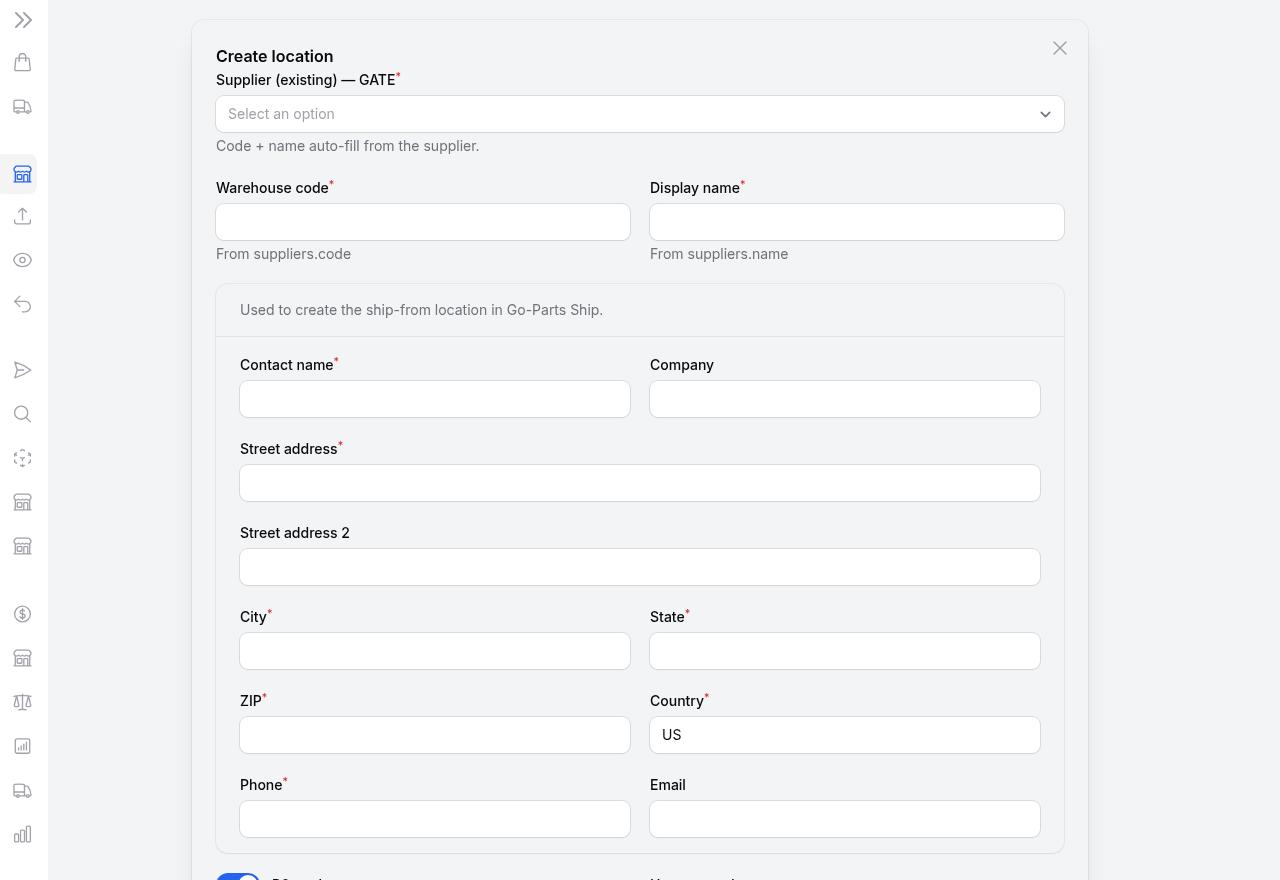
Open the Locations tab and click Add location (top right).
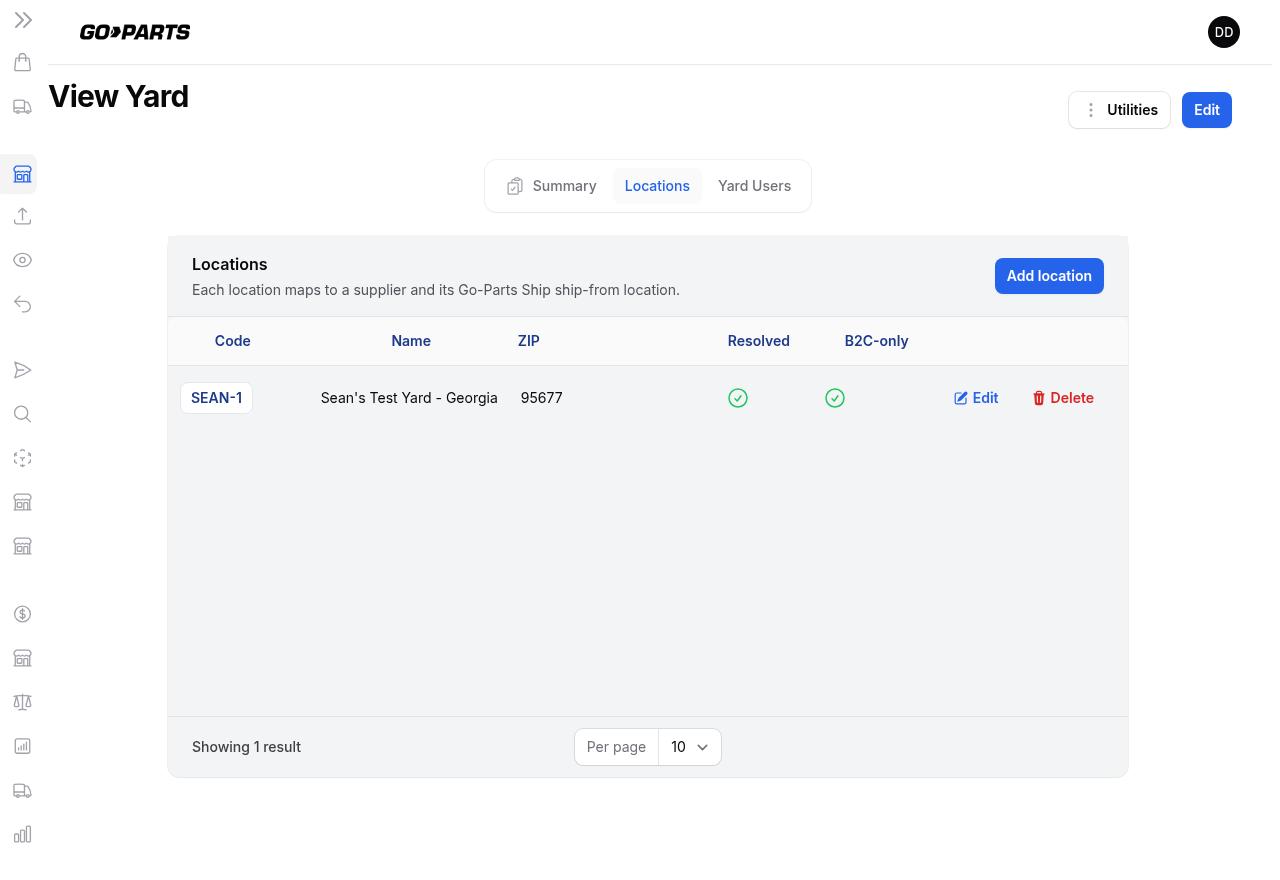
In the form, pick the Supplier for this location — the warehouse code and name fill in automatically from the supplier. Then enter the address (contact name, street, city, state, ZIP, phone). This is the same address Go-Parts Ship uses to ship from.
Once the account and locations are in place, click Sync to Central (Next banner / "Activate in Central" phase). This makes the yard's suppliers appear in the Create B2C Order dropdown and the shipping screens, and writes the ship-from mapping.
To let the yard practice printing labels before their live feed is connected, use Create Test Orders (Vendor handoff phase). Choose how many; the system drops sample orders into Go-Parts Ship only (never into Central). They're clearly marked with a TEST- prefix and land in the yard's Manual Orders.
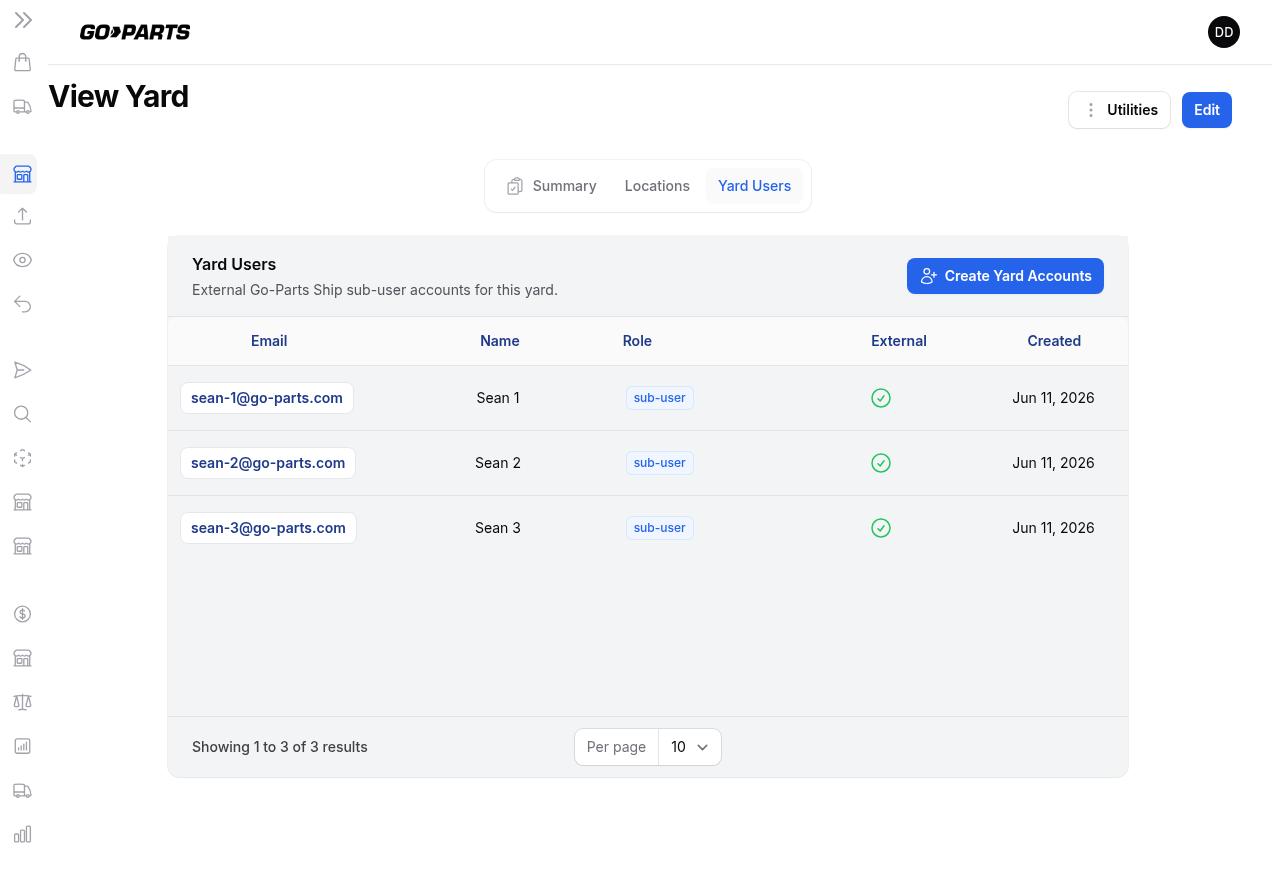
Open the Yard Users tab. Click Create Yard Accounts to add logins for the yard's staff.
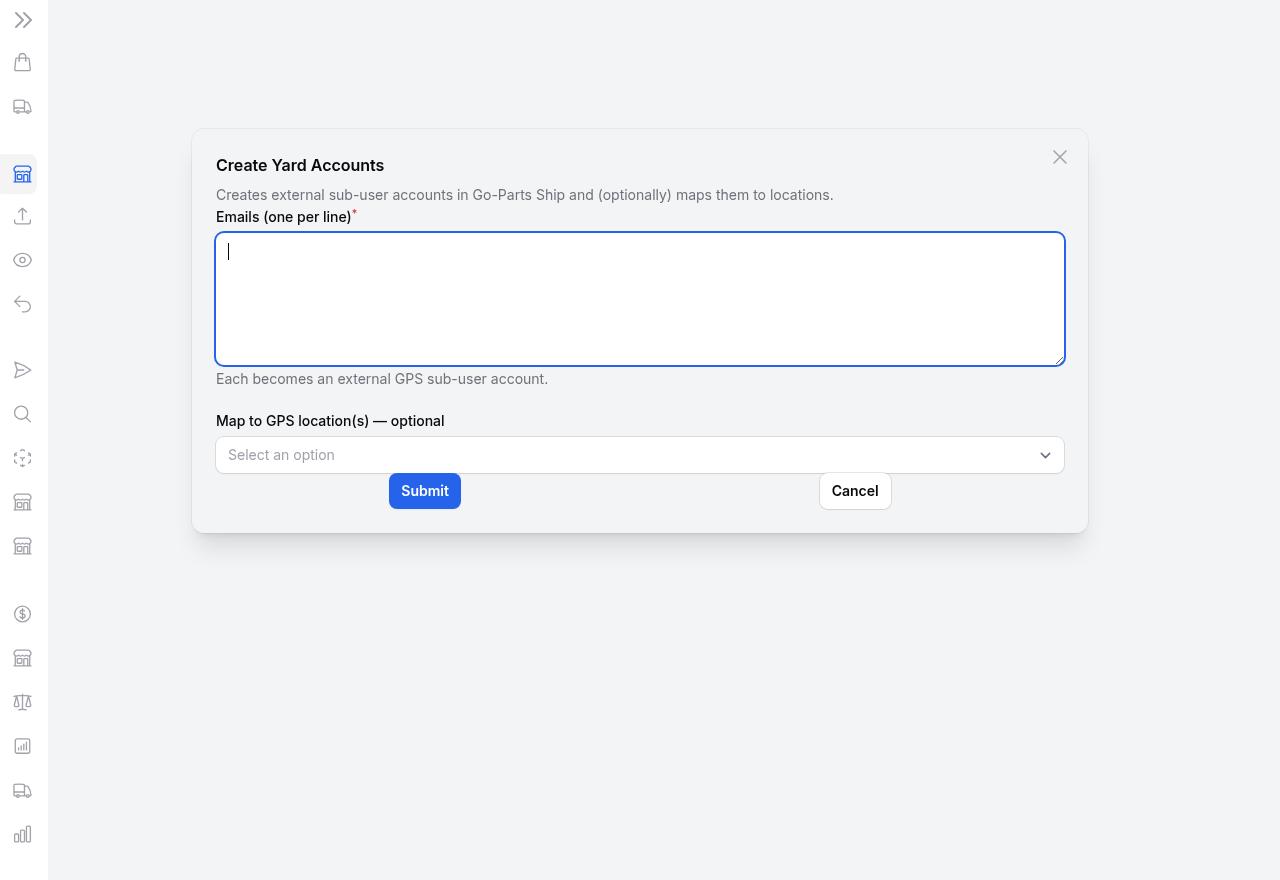
Paste the staff emails, one per line. Optionally pick which location(s) each set of accounts can access. Submit, and each person gets their own login.
The Utilities button (top right, next to Edit) holds the occasional actions:
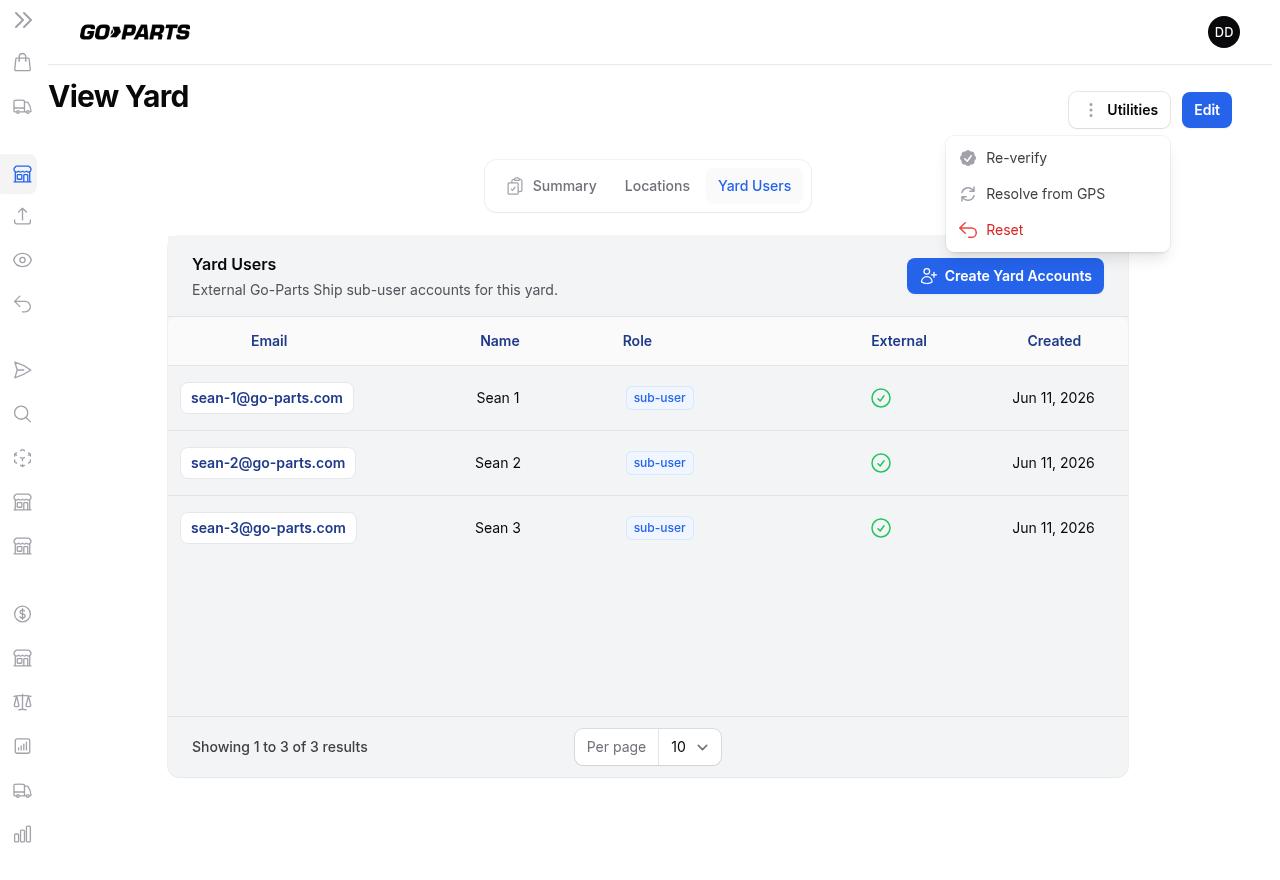
| Action | When to use |
|---|---|
| Re-verify | Re-run the checklist to refresh the status. |
| Resolve from GPS | Link a Go-Parts Ship account/location that already exists (instead of creating new ones). |
| Reset | Clear the resolved GPS data and start the yard over from Intake. |
auto — the system checks this for you and updates it live.manual — something you do/confirm (e.g. creating test orders).